vscode+picgo+github 搭建 markdown 图床
vscode 作为轻量级 IDE 神器,在安装 Markdown All in One 作为 markdown 编辑器异常好用,唯一美中不足的是不能上传图片。 这里就要讲到图床插件 picgo
picgo 介绍 (github地址)
You can change all the shortcuts below as you wish.
| OS | Uploading an image from clipboard | Uploading images from explorer | Uploading an image from input box |
|---|---|---|---|
| Windows/Unix | Ctrl + Alt + U | Ctrl + Alt + E | Ctrl + Alt + O |
| OsX | Cmd + Opt + U | Cmd + Opt + E | Cmd + Opt + O |
特性
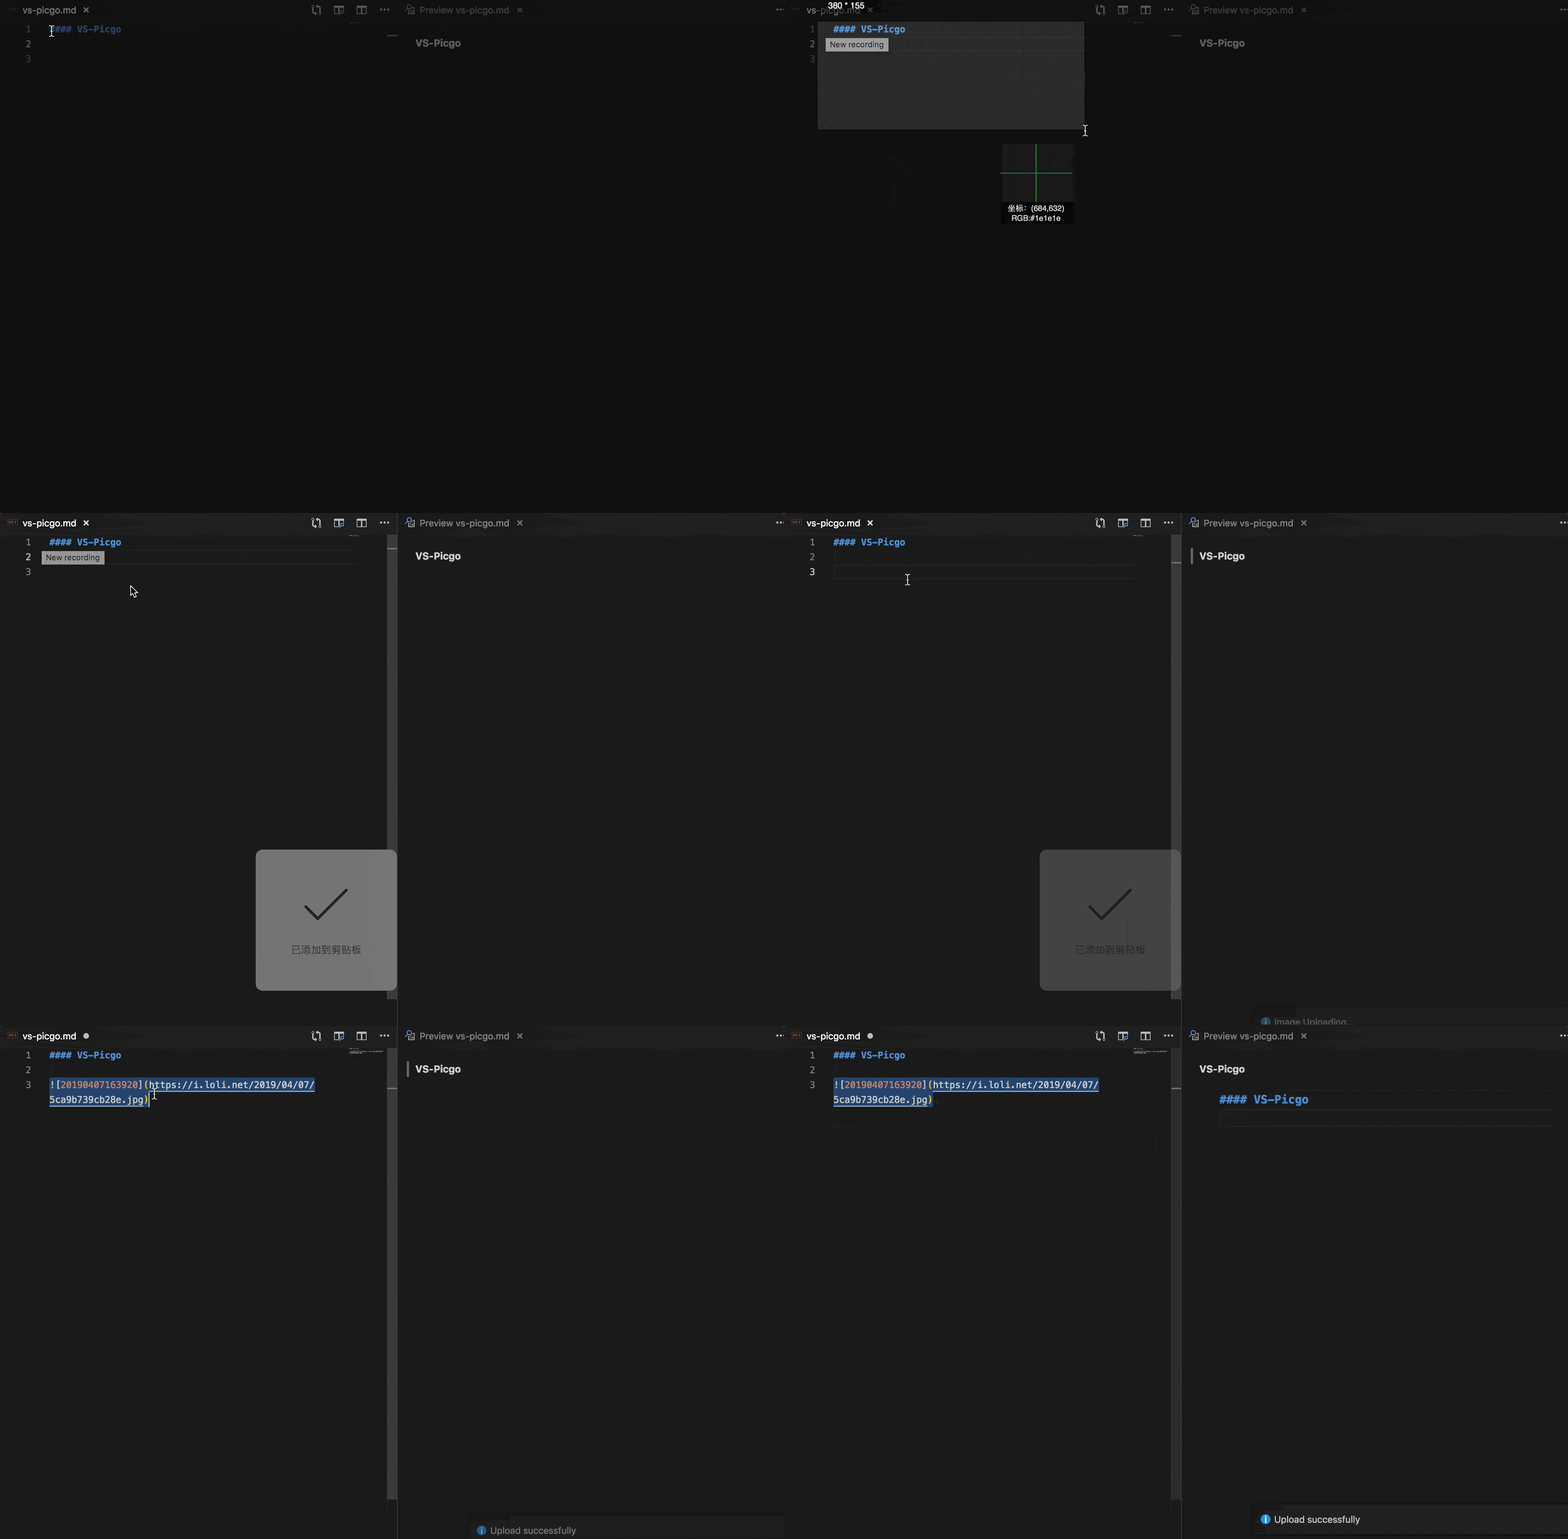
Uploading an image from clipboard
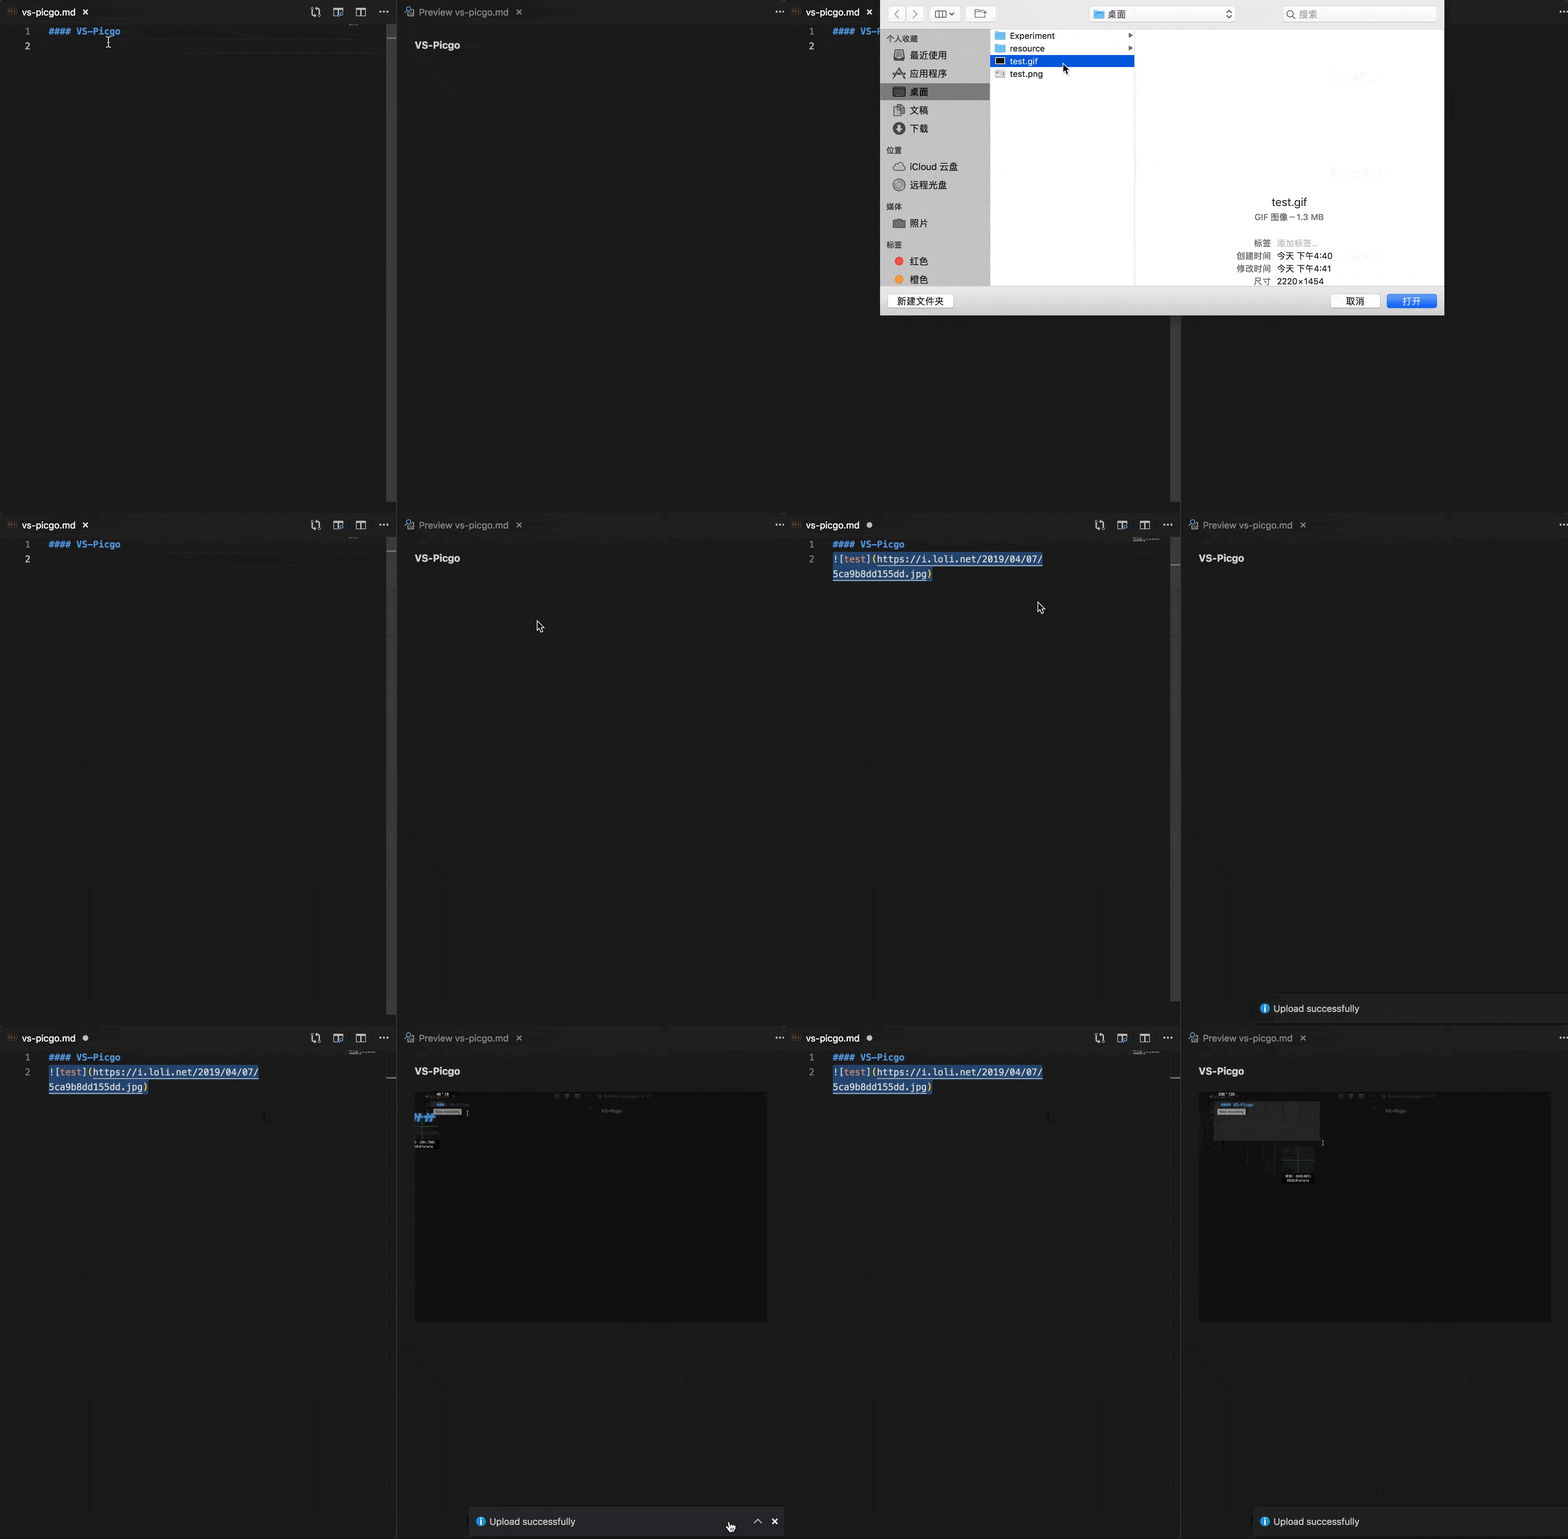
Uploading images from explorer
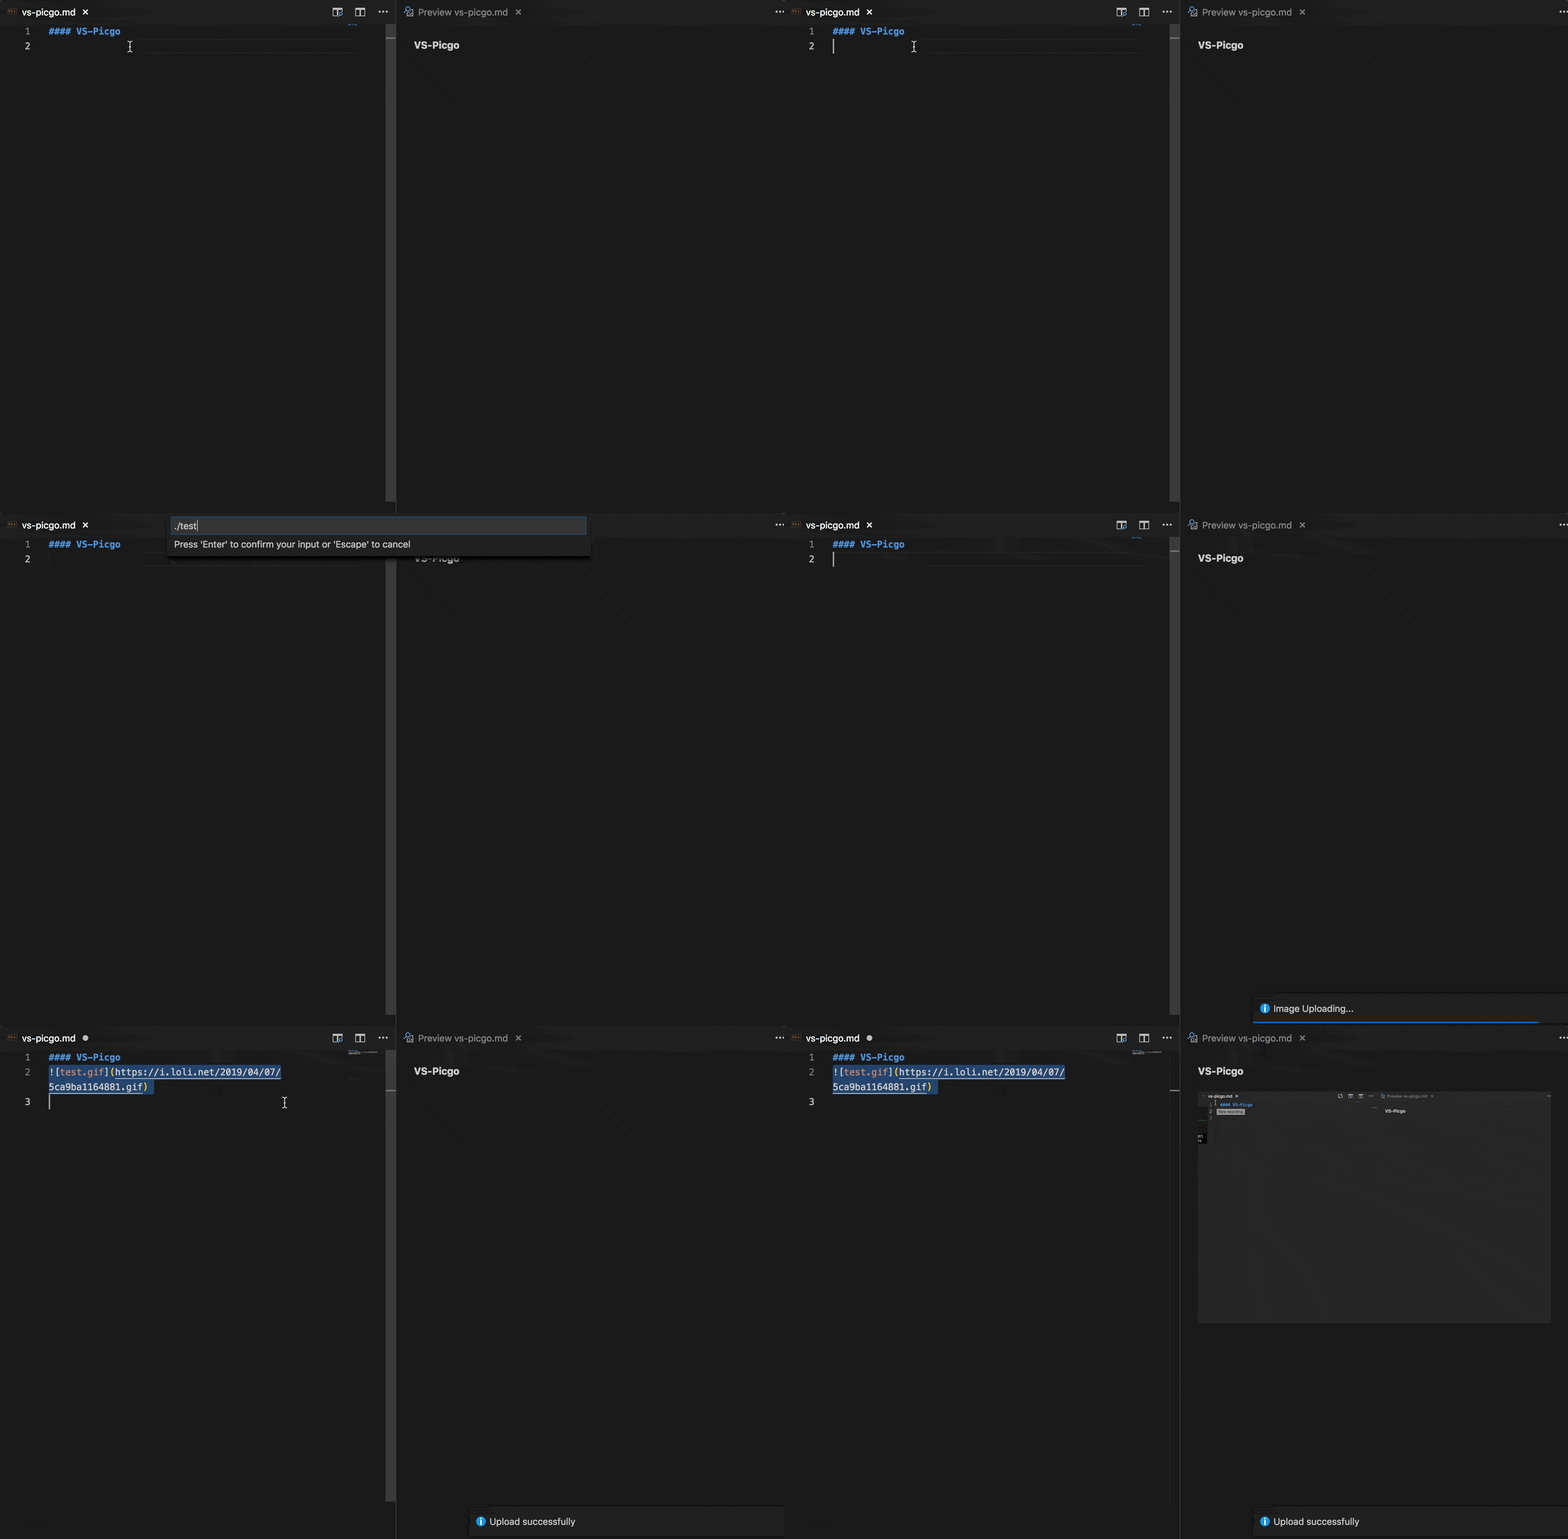
Uploading images from input box
Use selection text as the uploaded
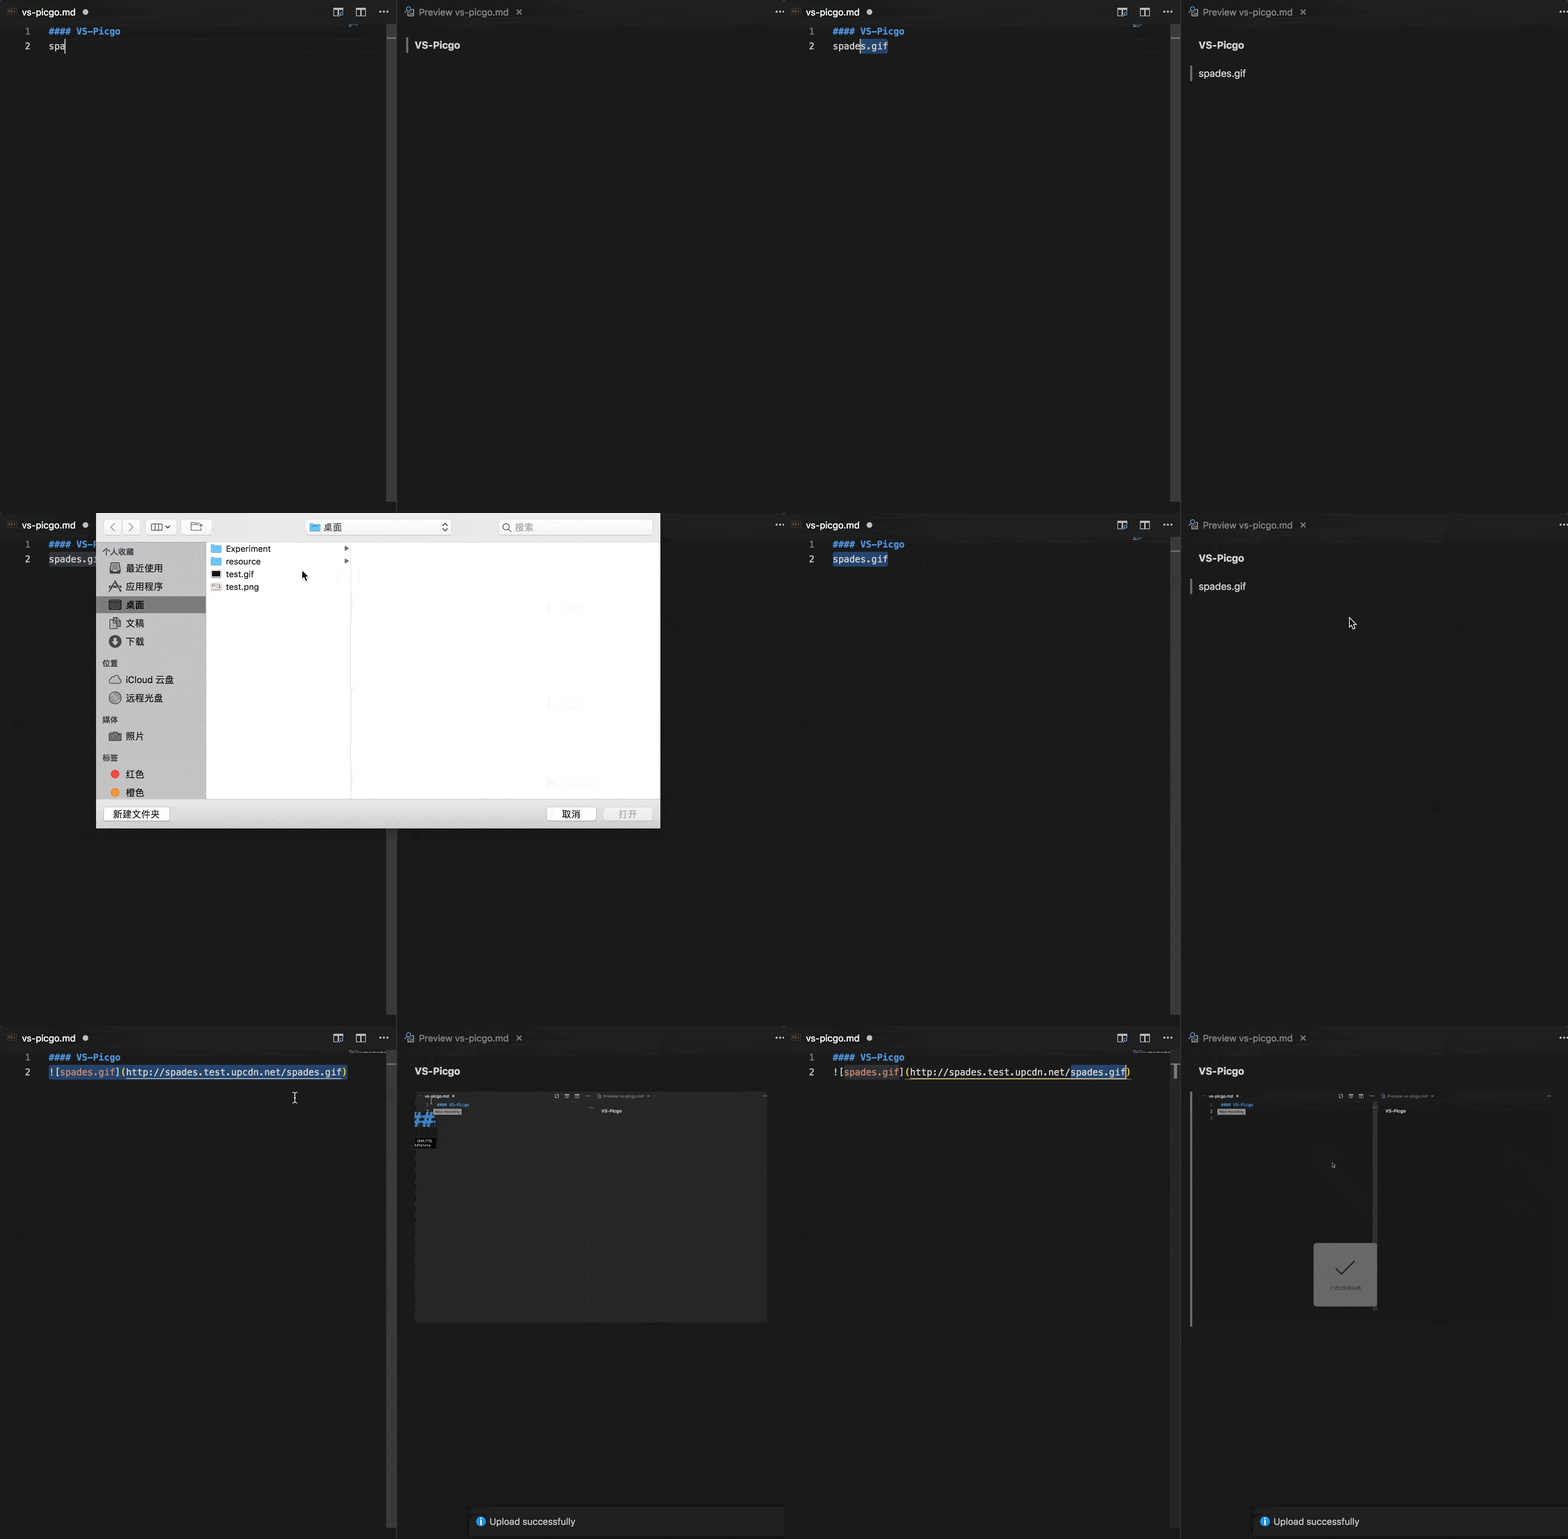 Notice: These characters:
 \$, :, /, ? and newline will be ignored in the image name. (Because they are invalid for file names.)
github 图床优点
- 稳定,用到微软破产应该不是问题
- 不花钱,这点很赞
- 容量大,一个仓库的上限是 100G,用作图床是够用了
- 用了 cdn 加速之后速度还是可以的
github 图床设置
- 注册登录 Github 略
- 创建public仓库 略
- 进入个人设置,选择开发者设置
settings-->Developer settings-->Personal access tokens,生成新的 token

- 添加描述,勾选 repo
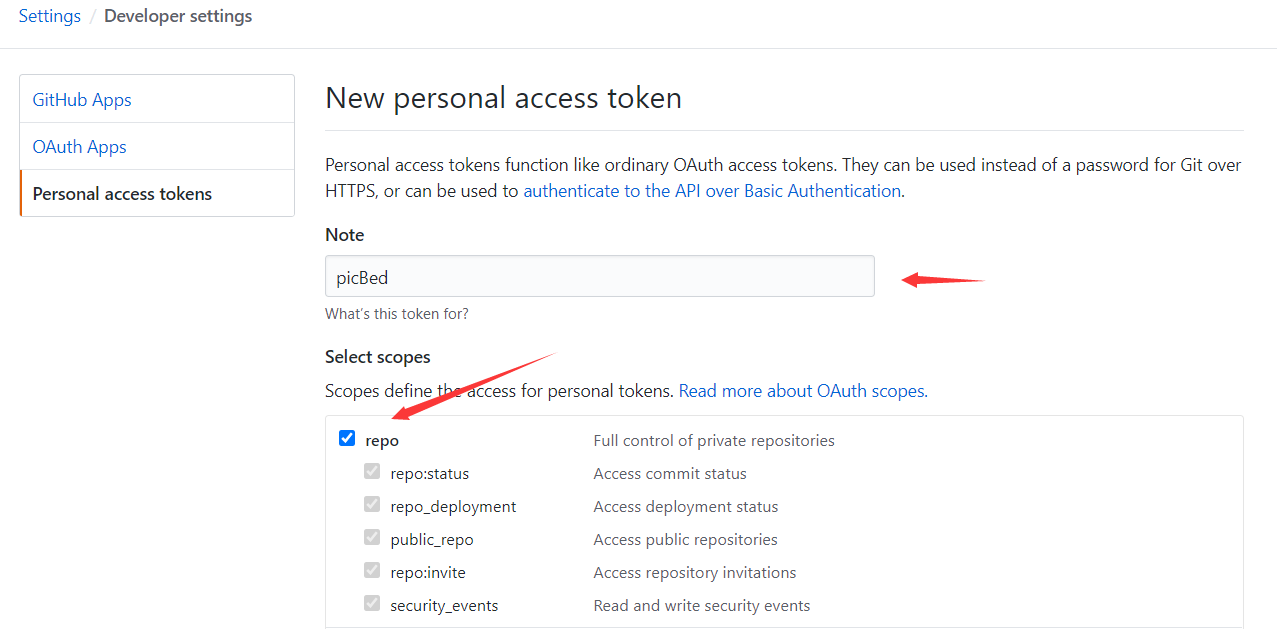
- 保存生成的 token 关闭页面将无法再次看到

picgo 配置
GitHub 设置完之后,需要修改 vscode 的 picgo 插件的设置,配置刚才设置的 github 图床,具体设置如下:
- vscode 右下角或者 ctrl+,唤出设置页面
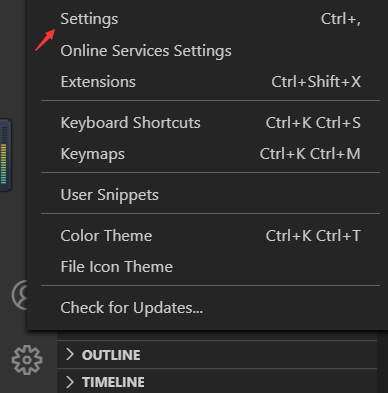
- 在扩展打开或者搜索 picgo
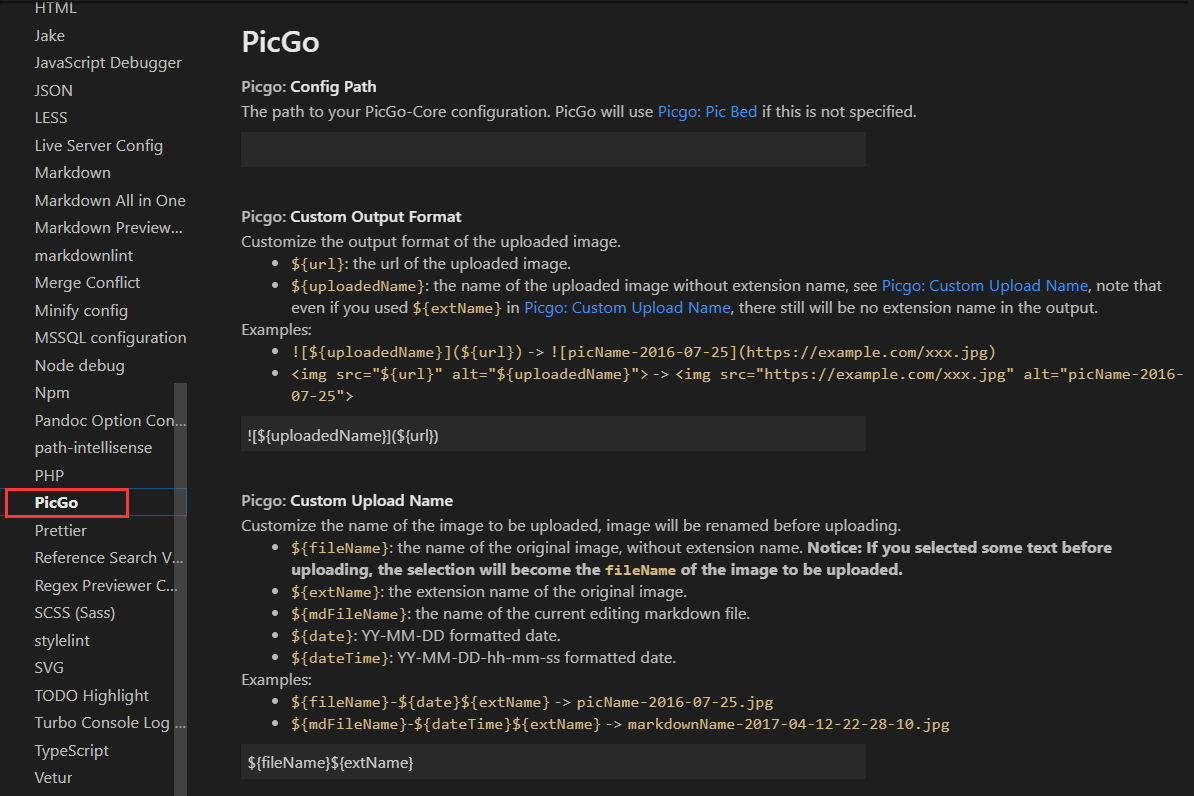
- 具体设置如图
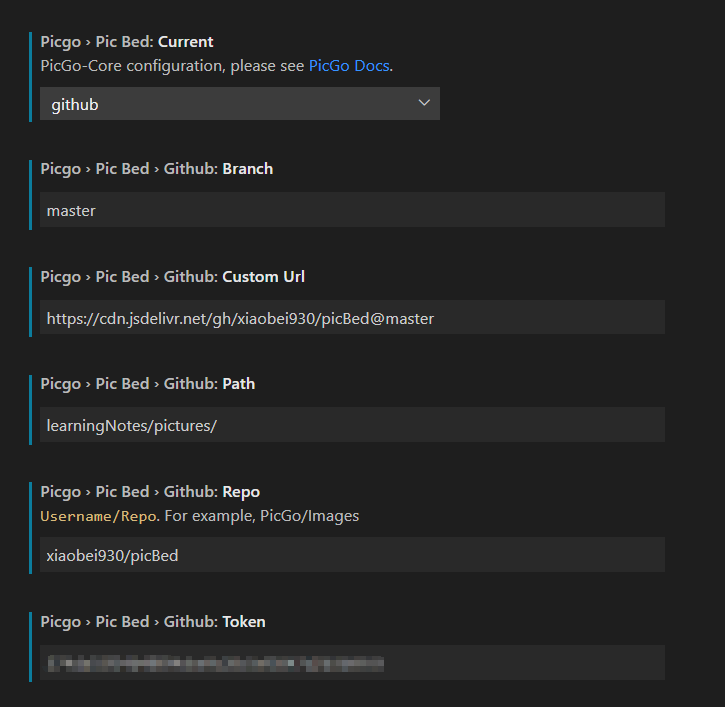
配置说明:
- current选择 GitHub
- Branch为仓库的分支,默认为 master
- custom url 为图片上传的连接,有多种方式可以使用,我们这里用的是 cdn 加速方式
- path为图片存储在仓库中的路径,比如我的是 learningNotes/pictures/
设置好后就可以愉快的在 vscode 里插图片了!